Getting Started With Divi
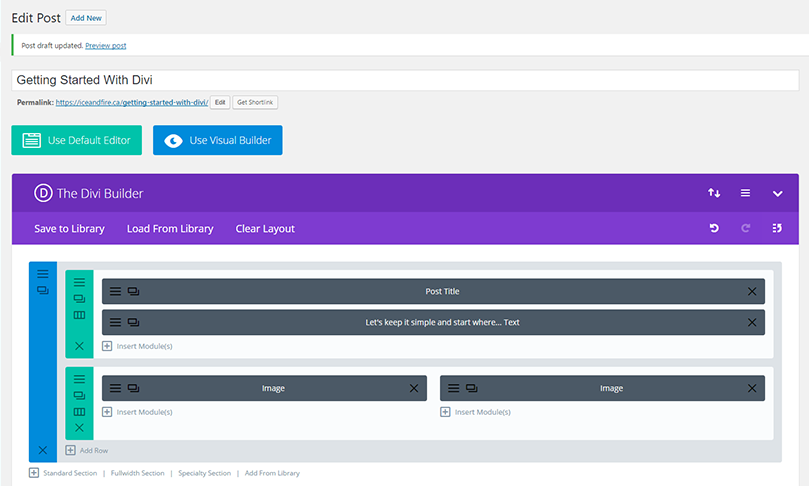
Let’s keep it simple and start where most people need to start: Making changes to the pages of your new site. Of course you must first log into your site, but we assume you have that information and know how to use it.
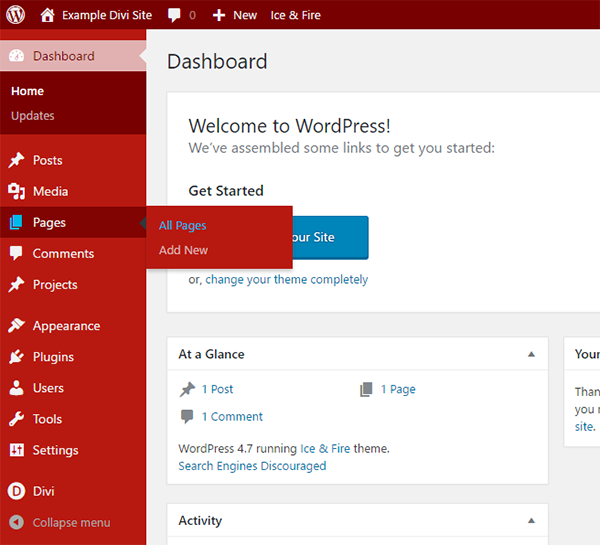
Browse to All Pages in your WordPress dashboard by following the links in the left menu: Pages > All Pages
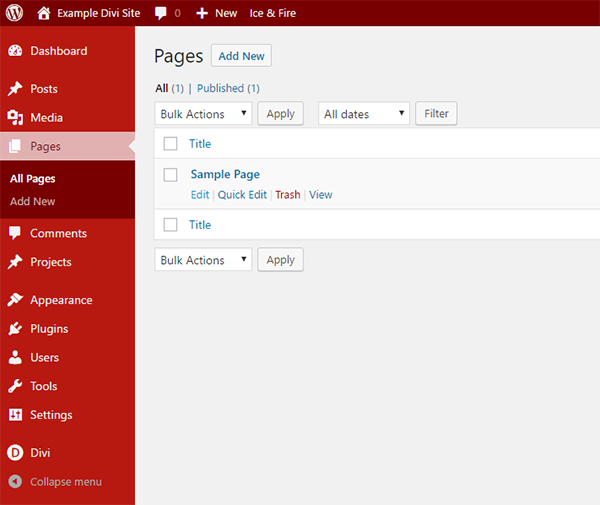
Locate the page you wish to make changes to and click on “Edit” beneath the page title. Now we should be ready to get to work.
Many of the changes you will want to make are text, which will be in a text module. We try to label sections with the beginning of the text that the module contains so that you will be able to quickly find the section you are looking for and edit away. To do so, you just click on the “hamburger” icon and the module will open up showing you the text within, either in visual or text only mode. Here I am using text only, which is how I prefer to use the text module.

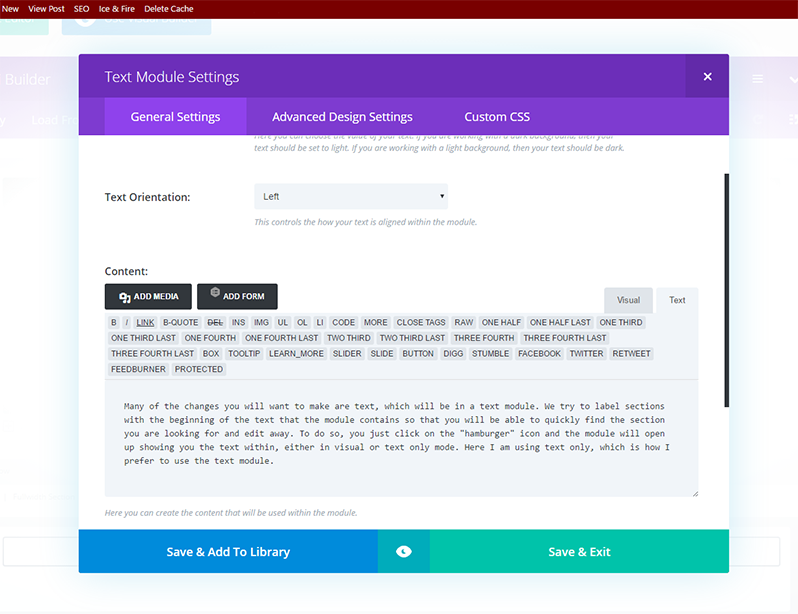
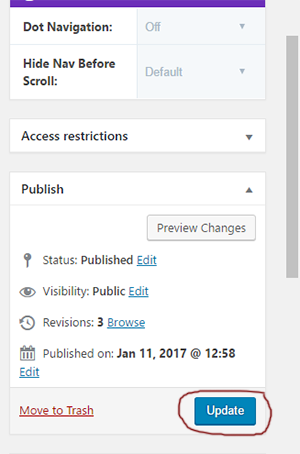
Once you have made your changes, and click “Save & Exit” the module closes. However, you must still save the page itself. This is where some people new to WordPress / Divi sometimes get confused: They click “Save & Exit” in the Divi builder but fail to update the page in the top right menu.
You must update your page in order for the changes to take effect. Just clicking Save in the divi builder does not save the actual page.
So that is all it takes to do basic text edits to your page. There are many more options in the text module that we have not discussed, but these initial articles are meant as a starting point for those who are learning how to make changes to their site once we have built it for them.
We will continue these articles from here, as time permits. Check this page for new articles:
https://iceandfire.ca/tips-and-tricks-using-your-new-divi-website/
Don’t forget to visit Ice & Fire Themes to see what child themes we have released!


